

In our previous Midjourney tutorial Midjourney – Absolute beginners guide we have introduced you to the most important command of Midjourney, the /imagine command.
In this tutorial we will guide you through all commands as well as through all possible parameters and settings you can use in Midjourney. I really recommend you to try the commands along with this tutorial to understand how they actually work. Let’s go! 😎👊
Basic Commands in Bot Channels
Commands are functions of the Midjourney bot that can be typed in any bot channel or thread under a bot channel. A bot channel is basically any channel where you can use the /imagine command.
/imagine creates an image based on the prompt text you provided. It produces a grid of 4 images, taking around 50 seconds with default settings.
/help displays universally helpful information and tips about the Midjourney bot.
/info shows information about your profile, plan, usage, and currently running jobs.
/subscribe creates a unique link to the subscription page of your current Discord account, without needing to sign in on the website.
/fast and /relax toggles between “fast” and “relax” mode. In fast mode, if you are out of jobs, your jobs will be incrementally billed. In relax mode, your jobs do not cost, but take longer to generate. Only active Standard and Corporate plans have access to relax mode.
/show <jobid> after recovering the ID of a job in your gallery, you can summon that job again in the chat, producing the resulting image and upscale, variation and remaster buttons. This allows you to essentially revive any job you generated yourself, bringing it into any bot channel to generate upscales, variations and the remaster option there, even if you have lost access to the original message.
/private and /public toggle between “private” and “public” mode. In private mode, your jobs are only visible to you. In public mode, your jobs are visible to everyone in the gallery, even if you are creating them in a thread or a DM. Access to private mode costs an extra 20$ per month.
Imagine parameters
Basic structure
Parameters options that change how the images generate. A full /imagine command might contain several things, like an image URL, image weights, algorithm versions, and other switches. /imagine parameters should follow the below order:

/imagine prompt: https://example/tulip.jpg a field of tulips in the style of Mary Blair --no farms --iw .5 --ar 3:2
“Switches” in this context means controls passed to the bot using a “–” parameter. For instance, the command /imagine hi there --ar 3:2 has a text prompt, and a parameter for the aspect ratio using the “–ar” instruction with a “3:2” value.
Sizes
Width and Height
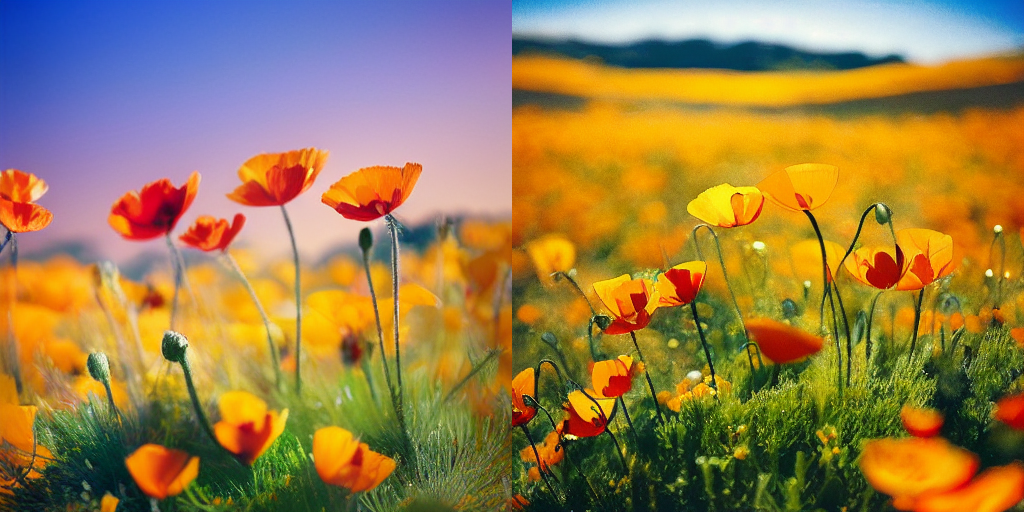
--aspect or --ar Makes it so the generation will have an aspect ratio as close as possible to the desired one. It can be a reduced ratio, such as 3:2, or it can be reducible, such as 1920:1280. If not specified, images will have a square aspect ratio, equivalent to --ar 1:1.
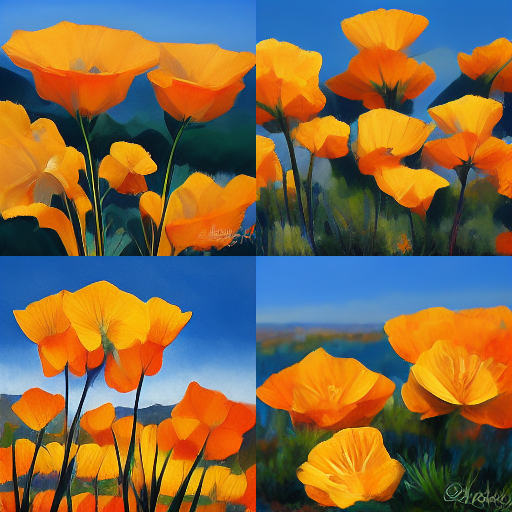
/imagine prompt: vibrant california poppies; equivalent to /imagine prompt: vibrant california poppies --ar 1:1If we want our image to have a 3 by 2 aspect ratio, we should write --ar 3:2 at the end of our prompt.
/imagine prompt: vibrant california poppies --ar 3:2; equivalent to /imagine prompt: vibrant california poppies --ar 1920:1280Please note that the ratio gets normalized, e.g. --ar 3:2 is the same as --ar 1920:1280. In both cases the resolution will be 384 x 256 for the generation, 1536 x 1024 for the first upscale, and 1920 x 1280 for the upscale to max.
Only certain ratios are currently supported, while others are only supported when upscaling to maximum. If the chosen aspect ratio is not valid, the closest supported ratio will be used instead.
Algorithm Modifiers
Version 1
--version 1 or --v 1 uses the original Midjourney algorithm (more abstract, sometimes better for macro or textures). --v 1 corresponds to the ![]() button in
button in /settings.
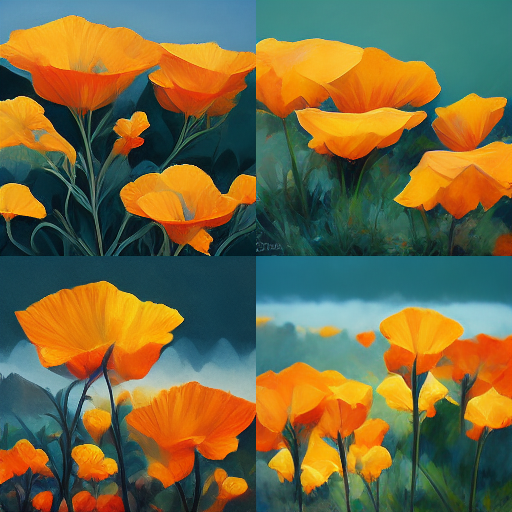
/imagine prompt: vibrant california poppies --v 1Version 2
--version 2 or --v 2 uses the original Midjourney algorithm in use before July 25th, 2022. --v 2 corresponds to the ![]() button in
button in /settings.
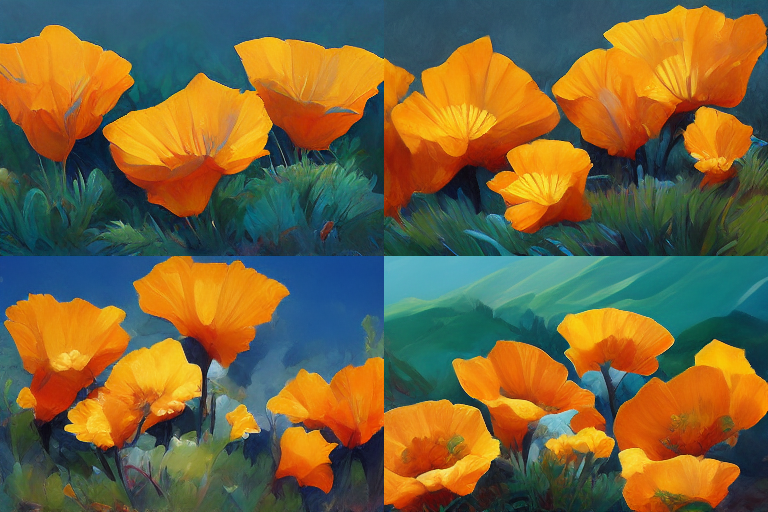
/imagine prompt: vibrant california poppies --v 2Version 3
--version 3 or --v 3 uses the current default Midjourney algorithm. --v 3 corresponds to the ![]() button in
button in /settings.

/imagine prompt: vibrant california poppies --v 3The new modes --test and --tesp
On 29/08/2022 Midjourney has introduced two new modifiers:
- A general purpose artistic mode you can use by typing
--test - A photo-realism mode you can use by typing
--testp.
Both settings can be toggled via the/settingspanel
Known limitations:
-
--testand--testpdo not support multi-prompts or image-prompts - The maximum aspect ratios supported is 3:2 or 2:3
- Each command makes two square images or one for non-square
- Words near the front of the prompt may matter more than words near the back
- The system may sometimes lock onto nouns more than adjectives
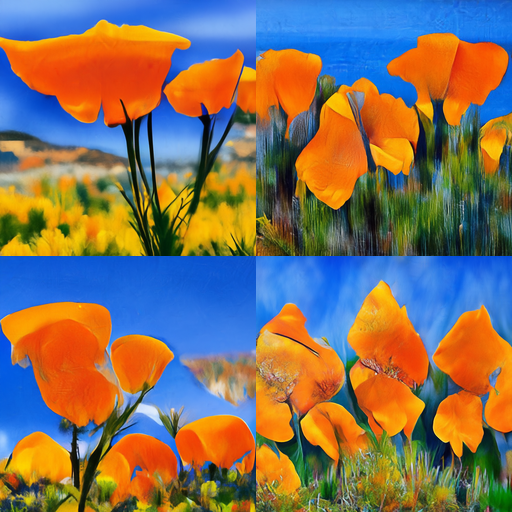
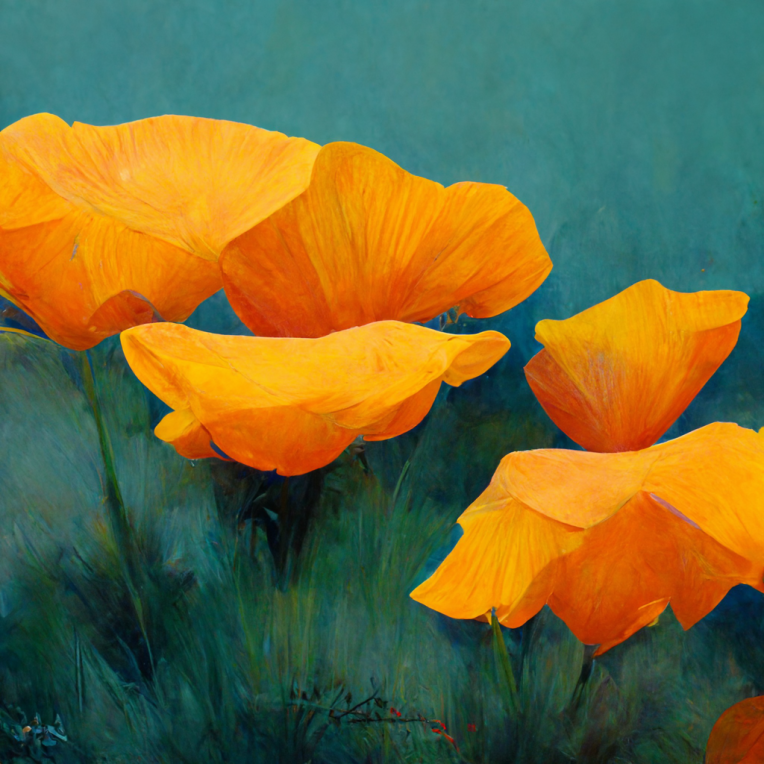
Test
--test uses the new Midjourney algorithm for purpose artistic mode. --test![]() button in
button in /settings.

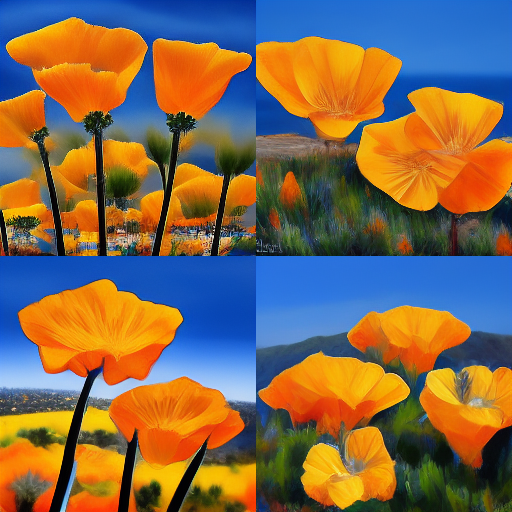
/imagine prompt:vibrant california poppies --testTestp
--testp uses the new Midjourney algorithm for photo-realism mode. --test![]() button in
button in /settings.
/imagine prompt:vibrant california poppies --testpSeamless textures with –tile
- You can now add
--tileafter your prompts to generate seamless textures (this means the images repeat if you use them as tiles) - You should get best results with
--testand--testpbut it should work with all algorithm and creation flows (v1, v2, v3, upscale, variations, etc)

/imagine prompt:vibrant california poppies --tile --testPrompt Modifiers
No
--no Negative prompting (e.g., --no plants would try to remove plants). This is like giving it a weight of -0.5.

/imagine prompt:vibrant california poppies --v 3 --no grassDetail Modifiers
Stop
--stop Stop the generation at an earlier percentage. Must be between 10-100.

/imagine prompt:vibrant california poppies --v 3 --stop 50Uplight
--uplight Use “lighter” upscaler for upscales. Light results are closer to the original image with less detail added during upscale. --uplight corresponds to the ![]() button in
button in /settings.
Regular upscale ![]() (left) vs Light Upscale
(left) vs Light Upscale ![]() (right)
(right)

Seeds
A seed number generate the random starting noise used in the begining of image generation. Using the same number across multiple prompts will use the same starting noise.
Seed
--seed Sets the random seed (an integer), which can sometimes help keep things more steady / reproducible between generations.
For instance: the same prompt run twice, with no seed specified:

/imagine prompt:vibrant california poppies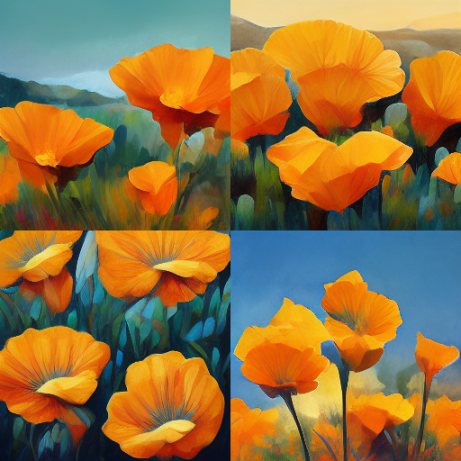
/imagine prompt:vibrant california poppiesVersus specifying the seed and running it twice:
/imagine prompt: vibrant california poppies -seed 0987
/imagine prompt: vibrant california poppies -seed 0987Sameseed
--sameseed <number> Sets the same seed across all images of the resulting grid, resulting in minimal changes within the initial grid. The sameseed can be any positive integer.
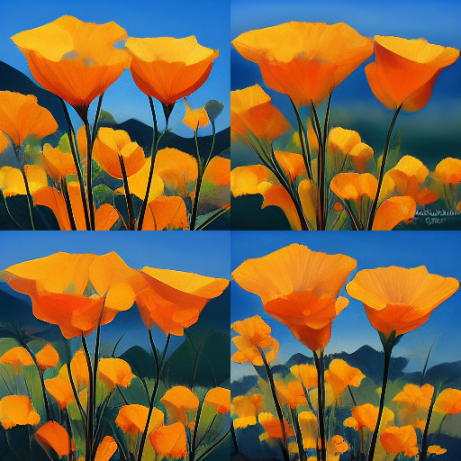
/imagine prompt: vibrant california poppies -sameseed 0987Stylize
--stylize <number>, or --s <number> The stylize argument sets how strong of a ‘stylization’ your images have, the higher you set it, the more opinionated it will be. Default number is 2500.
The default is 2500, but you can set it lower too. For instance, --s 1250 is good for when you want it to be ‘less strict’ but still ‘pretty’ (this is probably recommended for skilled users). --s 1250 corresponds to the ![]() button in
button in /settings.
--s 1250. --s 1250 corresponds to the 
button in /settings
--s 2500 (which doesn’t need to be specified in your prompt) --s 2500 corresponds to the 
button in /settings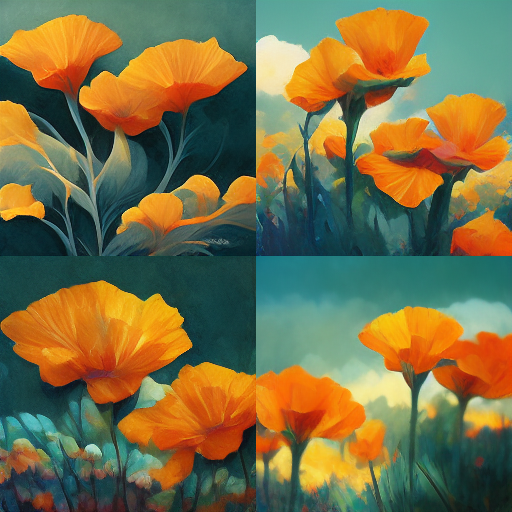
--s 5000 corresponds to the button 
in /settings
--s 20000 If you want it to ‘take over’ and start drifting from your text, but not go crazy. --s 20000 corresponds to the button 
in /settingsQuality Values
--quality changes how much time is spent generating your image. The shortcut version is --q. Please only use one of the values below. Any other value will be rounded to a valid value instead.
--q 0.25 Rough results, 4x faster / cheaper.
--q 0.5 Less detailed results but 2x faster / cheaper. Corresponds to the button ![]()
in /settings
--q 1 The default value, you do not need to specify it. Corresponds to the button ![]()
in /settings
--q 2 More detailed results, but 2x slower and 2x the price (2 GPU minutes per /imagine). Corresponds to the button ![]()
in /settings
--q 5 Kind of experimental, might be more creative or detailed… also might be worse! (5 GPU minutes per /imagine).
Progress Videos
--video Saves a progress video. Video will be sent to you in DM by the bot (private message) after you react to the result with the ✉️ emoji.

/imagine prompt:vibrant california poppies --videoImage Prompting with URL
Add one or more image URLs to your prompt and it will use those images as visual inspiration. You can mix words with images or just have images alone.

--iw <value> Adjusts the weight of the image URLs vs the text. They default to 0.25. Experiment and see what you like. For example, --iw 1 makes your image URL just as important, for the generation, as your default-weight prompt text.
Advanced Text Weights
You can suffix any part of the prompt with ::0.5 to give that part a weight of 0.5. If the weight is not specified, it defaults to 1.
Some examples:
/imagine hot dog::1.5 food::-1— This sends a text prompt ofhot dogwith the weight 1.5 andfoodof weight -1/imagine hot dog::1.25 animal::-0.75— Sendshot dogof weight 1.25 andanimalof negative 0.75/imagine hot dog:: food::-1 animal— Sendshot dogof weight 1,foodof weight -1 andanimalof weight 1
Prompts with a negative total weight are not allowed.
Preferences and settings
/prefer suffix <text> — This will automatically append the specified suffix after all prompts you submit. Leave empty to reset.
/prefer auto_dm True — Jobs will be automatically DMed to you. Set False to turn this off.
/prefer option set <name> <value> — This creates a personal option, which then translates to the value you have set when you invoke it by prepending it with --. Only you can use this option. For example, /prefer option set mine --hd --ar 16:9 creates an option called “mine” that translates to --hd --ar 16:9. So you can use /imagine rubber ducks are awesome --mine, and it will be the exact same as if you did /imagine rubber ducks are awesome --hd --ar 16:9. Leave the “value” field empty to delete an option.
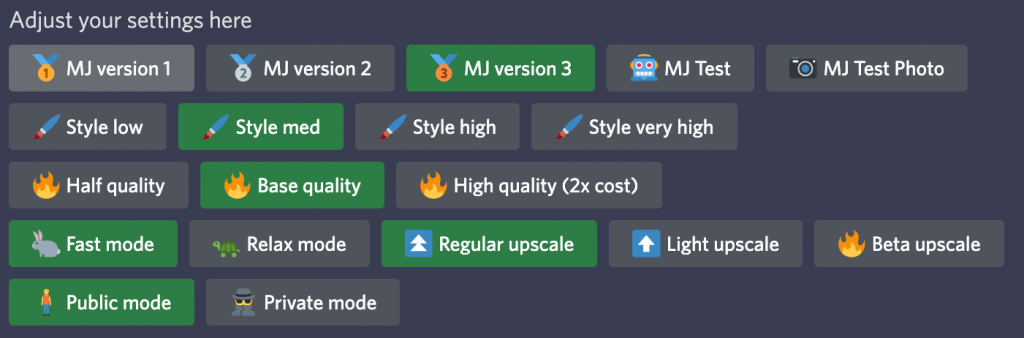
Settings
You can use the /settings command to set parameters you want to use as your defaults. Each row is a toggle button, meaning turning one on will turn the others off.
Source of this article: midjourney.com

[…] sourceThe article is sourced from the internet. Click the “Source” button to view the original content. If there is any copyright infringement, please contact our team for removal. […]