Introduction
This post is part of our HOW TO START tutorial series on Stable Diffusion.
As a beginner to the Python development, you must have faced the daunting task of installing and configuring Python before you run your first Stable Diffusion code.
But also the GPU support is something important when it comes to run Stable Diffusion models. Some tasks requires a certain amount of VRAM but also RAM for executing properly.
Wouldn’t it be better if you could skip all the above steps and just run the code for Stable Diffusion? Moreover, what about if you get free GPU and TPU for your computation heavy task. Does it sound too good to be true? That’s what a Google Colab is.
Colaboratory, or “Colab” for short, is a product from Google Research. Colab allows anybody to write and execute arbitrary python code through the browser, and is especially well suited to machine learning, data analysis and education.
Google
Google Colab is a good alternative if you don’t want to install all the dependencies in your local machine or if you don’t have the necessary hardware for that. It is also useful if you don’t want to run your prompts in a Web Client provided by a third party (for privacy reasons e.g.).
Usage
To start using Google Colab you just need to access https://colab.research.google.com/ and sign in with your Google Account.
You can new create new Notebooks (predefined code) or open an existing Notebook.
Note that you will probably need Colab Pro in order to use this script given that the free version of Colab has slightly too little VRAM to generate images. I’d also suggest upgrading to Colab Pro or Pro+ as you’ll be able to leave it running in the background for longer.
Stable Diffusion WebUI
![]()
Stable Diffusion WebUI allows you to move away from code and provides an easy to use User Interface (UI) that has many feature you may not find in a single colab.
Installation
Open then notebook and save a copy to your Drive.
Run all the cells in Setup stage 1 and allow it connect to Google Drive. Once done, any images you generate are saved to your Drive, so you don’t lose work when the session ends.
The next step is to save the SD model into your drive. You only need to do this the first time you run the notebook and it means the model will be available to other SD notebooks as well.
First, go to the SD page on Hugging Face and click ‘Access repository’. Login or create a Hugging Face account and click the sd-v1-4.ckpt link to download. Save it to My Drive > AI > models in your Google Drive.
When the model is fully uploaded, run steps two and three.
Once you run the Colab, you will be presented with a URL like: https://xxxx.gradio.app
Click on the URL to launch the Stable Diffusion WebUI.
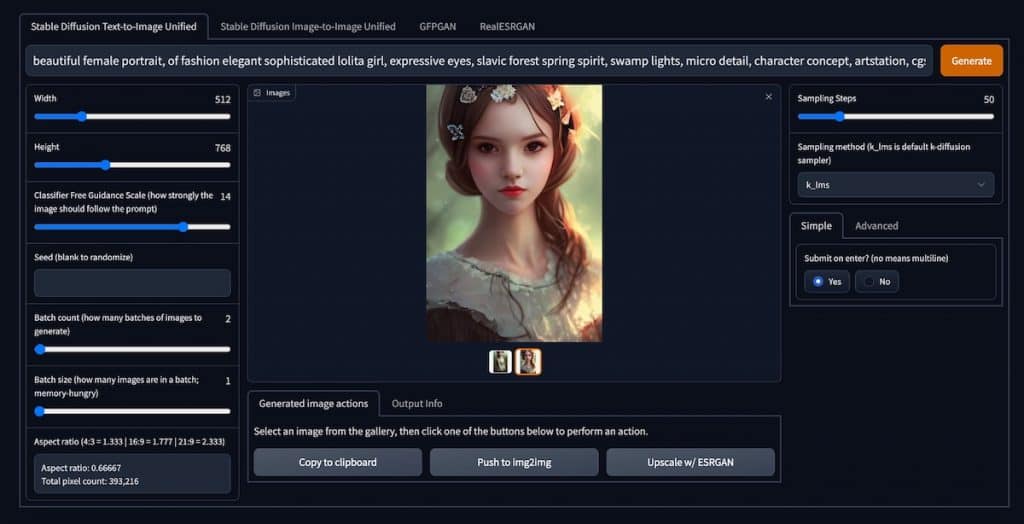
You can create Text-to-Image and Image-to-Image as well as GFPGAN (used to correct and enhance faces generated by AI) and RealESRGAN (used to scale up images in size)
Easy to follow this instructions to get the notebook running.
Deforum Stable Diffusion Notebook
![]()
Deforum Stable Diffusion is the most popular notebook available that allows you to run your own version of Stable Diffusion model. Make sure you download the Stable Diffusion weights from Hugging face website via the link provided in the notebook and save it to the /Google Drive/AI/models folder so it can access it when it runs.


Easy to follow this instructions to get the notebook running.
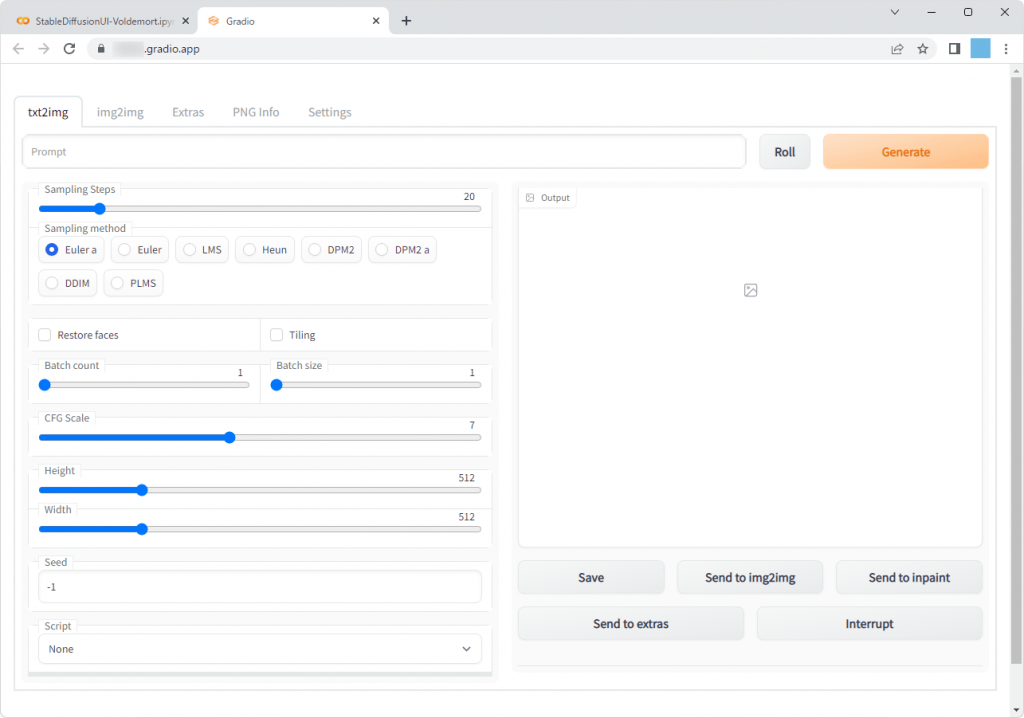
Voldemort – Stable Diffusion Web UI
![]()
Vodermort Stable Diffusion Web UI is also a popular notebook available that allows you to run Stable Diffusion model on Google Colab. It is based on the AUTOMATIC1111 – Stable Diffusion Web UI fork.
Just follow the instructions like the notebooks above for getting it up and running.
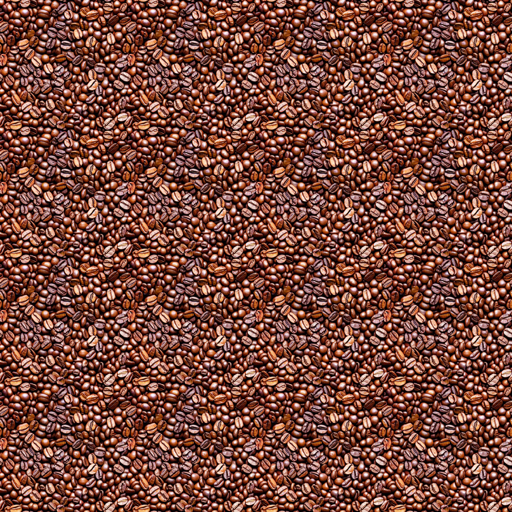
Seamless Textures with Stable Diffusion
![]()
Generate seamless textures with Stable Diffusion using in-painting available via this notebook. Simply provide the prompt and this specialised notebook can be create seamless tiled images based on your prompt.